First Cannabis Harvest can feel a little overwhelming, but don’t worry, you’ve got this!
You’ve been nurturing your plants like a proud plant parent, managing lights, dialing in nutrients, and now those buds are finally looking juicy.
But now comes the big question: When should I harvest? And how do I do it right?
Relax! this guide walks you through the first cannabis harvest process step by step, in a super beginner-friendly and stress-free way.
Let’s get into it!
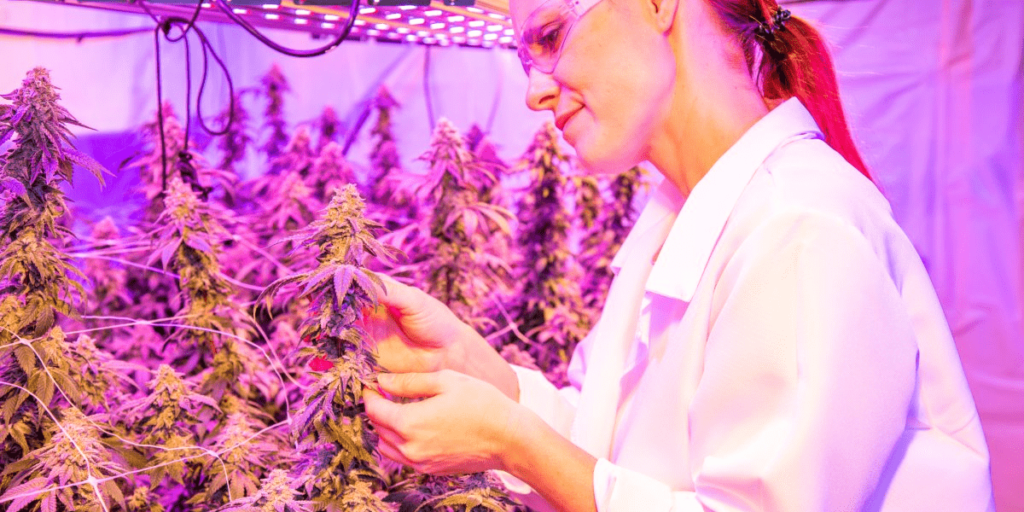
Step 1: When Is Your Cannabis Ready for the First Harvest?
One of the biggest questions first-time growers ask is: How do I know it’s time to harvest?
Don’t rely solely on the grow calendar, instead, watch for these real signs:
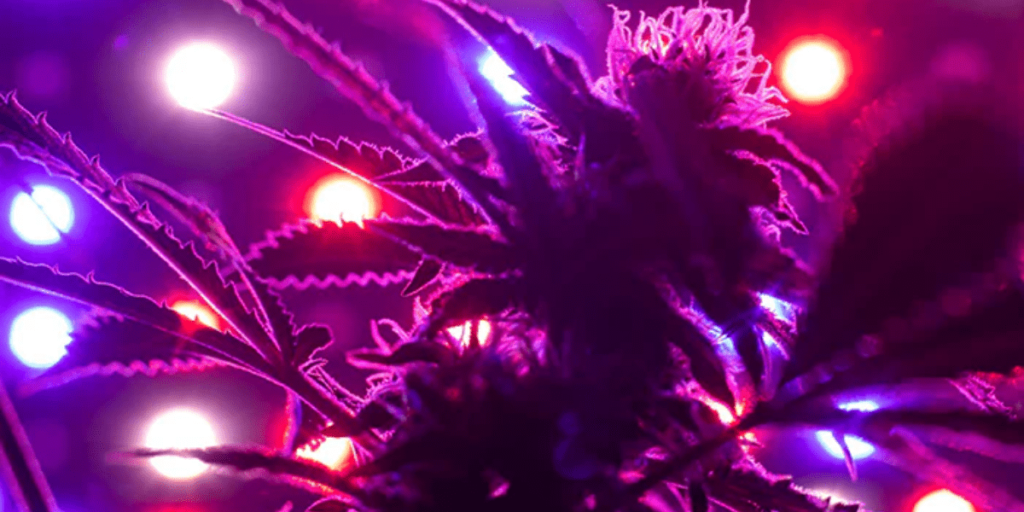
- Check the trichomes: These tiny crystals on your buds go from clear → cloudy → amber. Use a magnifier or jeweler’s loupe. Cloudy = peak THC. Amber = more relaxing.
- Look at the pistils: These hair-like strands will darken and curl in. When 70–90% are brown, that’s a good time.
- Smell check: Mature buds have a strong, rich aroma. If your room smells loud, that’s a green light!
Not sure your plant grew strong enough during veg? Check out our guide on vegetative stage tips, it’s the foundation of a great harvest!
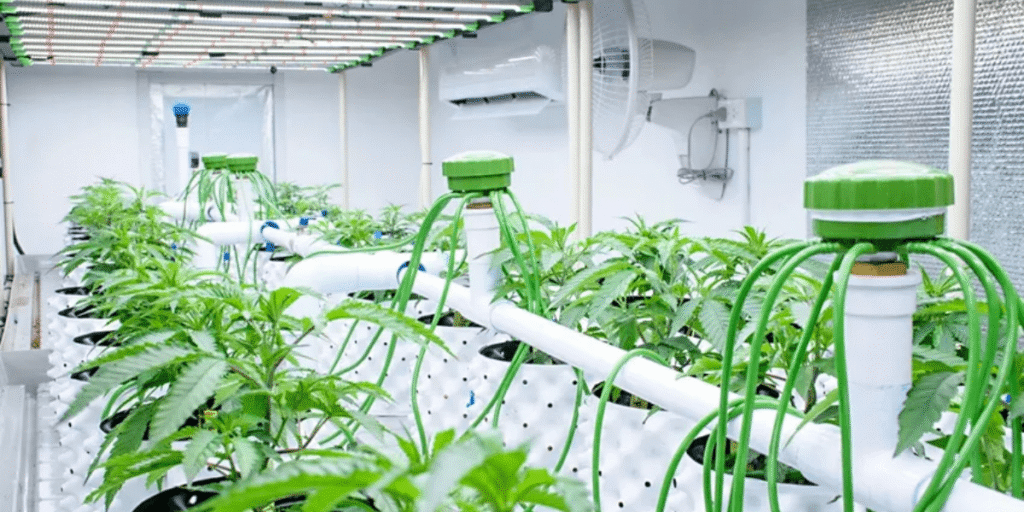
Step 2: Essential Tools for Your First Cannabis Harvest
You don’t need a fancy setup, but having the right tools makes everything smoother:
Your basic harvest kit:
- Trimming scissors
- Nitrile or gardening gloves
- Drying rack or clothesline-style hanger
- A clean, well-ventilated space
Pro tip: Resin is sticky! Gloves save you from washing your hands 10 times.
Step 3: Drying & Curing Tips for a Successful First Harvest
Don’t ruin your harvest by rushing this step. Drying and curing is what turns raw buds into smooth, flavorful cannabis.
Drying:
- Hang buds upside down in a dark, cool room
- Temp: 60–70°F (15–21°C)
- Humidity: 50–60%
- Dry time: 7–10 days, until small stems snap instead of bend
Curing:
- Move buds to glass jars (not plastic)
- Store in a dark, cool spot
- Open lids for 5–10 mins daily for the first week (“burping”)
- Cure for at least 2–4 weeks (longer = smoother)
Curing brings out flavor, aroma, and potency. Don’t skip it!
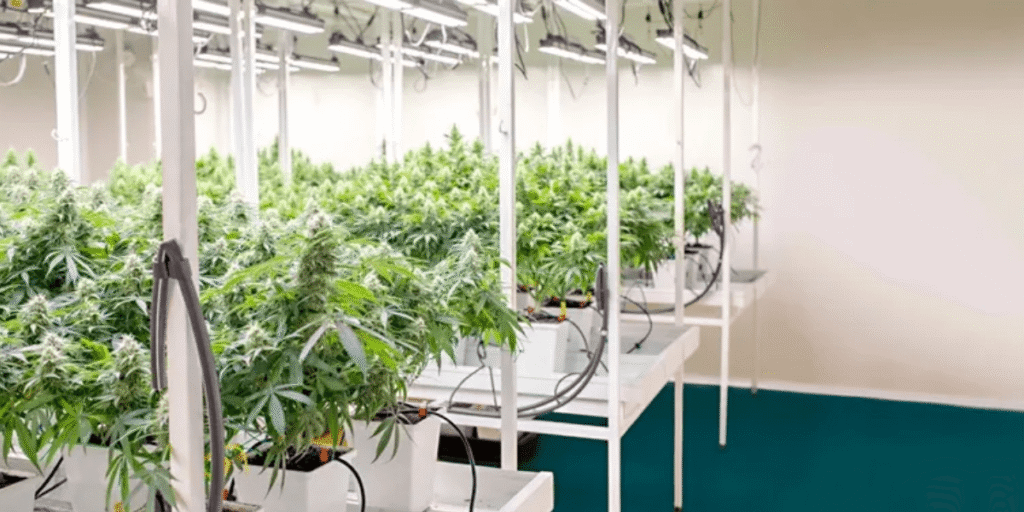
Step 4: How to Store Buds After Your First Cannabis Harvest
Now that your buds are dried and cured, it’s time to store them properly:
- Use airtight glass jars
- Add humidity control packs if you can
- Label your jars with strain + date
- Keep them in a cool, dark cupboard
Boom! You just completed your first cannabis grow cycle. How awesome is that?
Top 5 FAQs About Your First Cannabis Harvest
Q1. I’m not sure when to harvest — what if I get it wrong?
No worries! A few days early or late won’t ruin it. Check trichomes: cloudy = good, amber = chill. You can even harvest in parts.
Q2. My buds smell grassy after drying — did I fail?
Not at all. That smell fades with curing. Jar them up, burp daily, and wait 2–4 weeks for full flavor.
Q3. I’m growing just one plant — is it worth it?
Yes! Even one healthy plant can give you 1–3 oz of clean, homegrown bud. Totally worth it.
Q4. My drying room isn’t perfect — is that bad?
It’s okay. Aim for 60°F and 55–60% humidity. Just keep airflow moving and avoid mold.
Q5. Can I harvest everything at once?
You can, but top buds ripen first. Try splitting the harvest — better quality and yield.
Final Thoughts on Your First Cannabis Harvest
Harvesting cannabis for the first time is a little nerve-wracking, but trust us, it’s also incredibly rewarding.
Take your time, follow your plant’s signs, and don’t rush the drying and curing. Before you know it, you’ll be enjoying top-shelf buds you grew yourself.
Want more tips for your first cannabis harvest? Follow us on Instagram 👉 @Greenfuturelight
Looking for easy-to-use LED grow lights or starter kits? Check us out 👉 www.greenfuturelight.com
Ready to take your grow to the next level? Explore our premium LED Grow Light Collection today!
Have questions? Contact Our Team for a free consultation anytime!
Happy growing! 💚