Transplant Cannabis Seedlings Correctly is a vital skill every grower should master,doing it right ensures your seedling have the best chance to develop strong roots and grow into healthy plants. Whether you’re growing in soil or hydroponics, following the proper transplant steps can make a big difference in your crop’s success. In this guide, we’ll walk you through the essential techniques to make transplanting smooth, stress-free, and effective. Let’s get started and set your plants up for a thriving grow!
Why It’s Important to Transplant Cannabis Seedling Correctly
Transplanting cannabis seedlings is a pivotal step that can make or break your entire grow cycle. When done correctly, it ensures the roots have enough space to expand, promotes vigorous growth, and sets your plants up for a successful flowering phase. Conversely, improper transplanting can stress the seedlings, cause transplant shock, stunt growth, or even lead to plant death. Understanding the entire growth process is important, especially the seed germination stage, which lays the foundation for a healthy transplant. If you’re just getting started, be sure to check out our beginner-friendly guide on how to germinate cannabis seeds, where we cover everything you need to know to get your seedlings off to a strong start.
Preparing Tools and Environment for Cannabis Seedling Transplant
Before you get your hands dirty, proper preparation is key to a smooth transplant. Here’s what you’ll need:
Essential Tools and Materials for Transplanting Cannabis Seedlings
- Clean and sharp scissors or pruning shears: Essential for trimming damaged roots or leaves if necessary.
- New pots or containers: Make sure they have drainage holes to prevent waterlogging. Choose sizes appropriate for your plant’s growth stage.
- Growing medium: Whether you prefer soil, coco coir, or a hydroponic substrate, it should be fresh, nutrient-rich, and well-aerated.
- Root stimulator or transplant nutrient solution: Optional but highly beneficial to support root growth and reduce stress.
- Spray bottle: For gentle misting to keep leaves and roots moist.
- Gloves: Optional, but helpful for hygiene and handling plants.
Creating the Ideal Environment for Successful Seedling Transplant
- Temperature: Maintain a warm, stable environment around 70-75°F (21-24°C). Avoid sudden temperature fluctuations.
- Humidity: Keep relative humidity between 50-70% to prevent drying out while reducing the risk of mold.
- Lighting: Transplant seedlings should initially be kept under indirect or low-intensity light to avoid stress. Gradually reintroduce stronger light after a couple of days.
- Clean Workspace: Work in a clean, shaded, and draft-free area to protect your seedlings during the vulnerable transplant process.
Step-by-Step Guide to Transplant Cannabis Seedlings
Step 1: How to Prepare New Containers for Cannabis Seedlings
Fill your new pots with the chosen growing medium, ensuring it’s loosely packed to allow air flow but firm enough to support the roots.
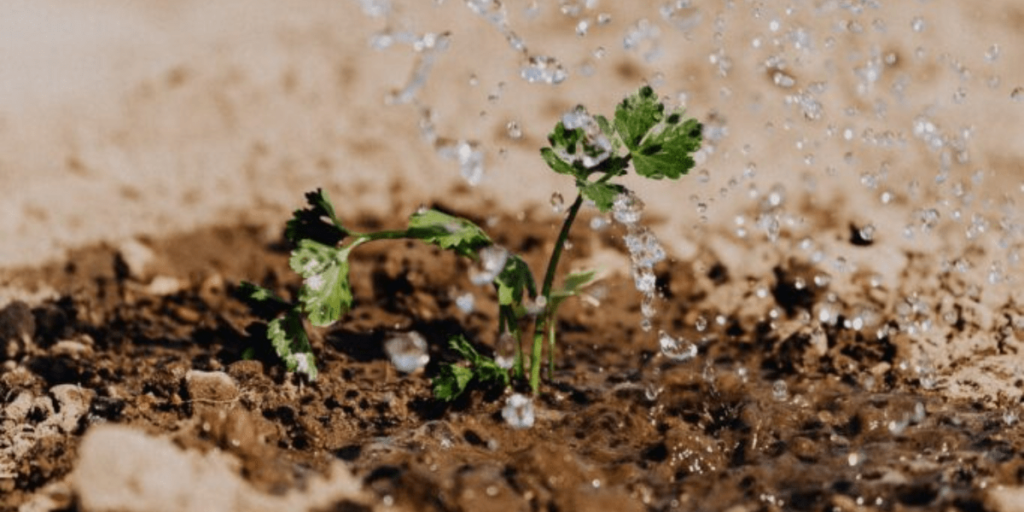
Step 2: Watering Seedlings Before Transplanting: What You Need to Know
About a few hours prior, water your seedlings lightly. Moist soil reduces root damage and helps the plant adjust during the move.
Step 3: Safely Removing Cannabis Seedlings from Their Original Pots
Gently squeeze or tap the sides and bottom of the original pot to loosen the root ball. Avoid pulling on the stem, as it’s fragile and can easily snap.
Step 4: Handling and Inspecting Seedling Roots During Transplant
Check the roots for health. They should be white or light-colored and spread evenly. If you see roots circling around the pot or root-bound masses, gently tease them apart to encourage outward growth in the new medium.
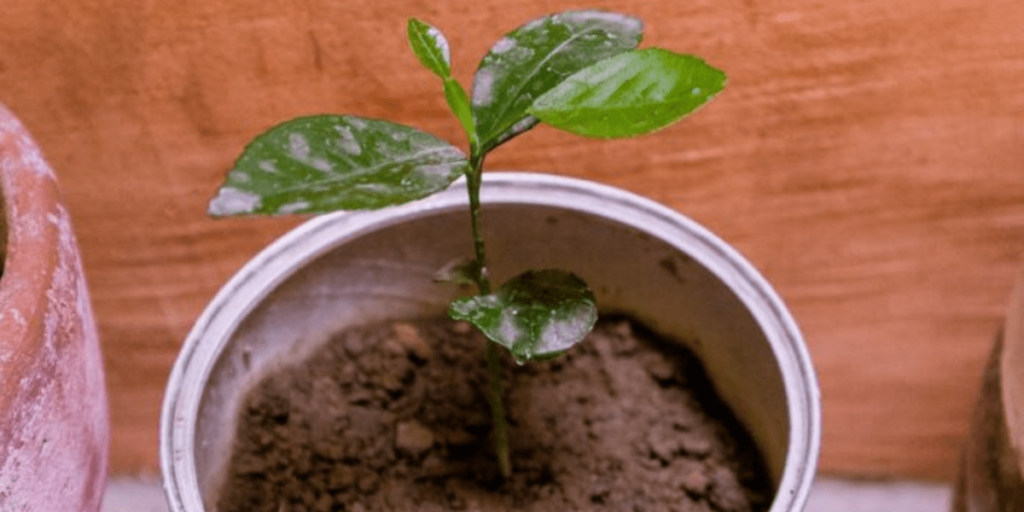
Step 5: Placing Seedlings Properly in New Growing Medium
Place the seedling in the new pot at the same depth it was previously planted. Backfill with growing medium, gently pressing around the roots to remove air pockets but not so tightly as to suffocate them.
Step 6: Best Practices for Watering After Transplanting Cannabis Seedlings
Water thoroughly to settle the soil and reduce transplant shock. Use water at room temperature to avoid shocking the roots.
Step 7: Providing the Right Environment After Seedling Transplant
Keep the seedlings in a shaded or low-light area for 24-48 hours to allow recovery. Maintain consistent moisture and humidity, and then gradually reintroduce your regular grow light intensity.
Avoiding Common Mistakes When Transplanting Cannabis Seedlings
- Pulling Seedlings by the Stem: Always handle seedlings by the root ball, not the stem, to avoid damage.
- Planting Too Deep or Too Shallow: Keep the same planting depth to prevent stem rot or drying out.
- Letting Seedlings Dry Out: Minimize the time seedlings spend out of soil and keep roots moist throughout.
- Using Old or Contaminated Growing Medium: Fresh, sterile medium reduces the risk of disease and nutrient imbalance.
- Overwatering After Transplant: While it’s important to water after transplanting, avoid waterlogging which leads to root rot.
Post-Transplant Care Tips for Cannabis Seedlings
After transplanting, seedlings enter a delicate recovery phase where environmental conditions need to be carefully managed to ensure healthy growth. It’s important to maintain consistent but moderate soil moisture,avoid letting the soil get too dry or too soggy, as either extreme can harm recovery. Keep the temperature and humidity stable, since sudden fluctuations can stress the plant.
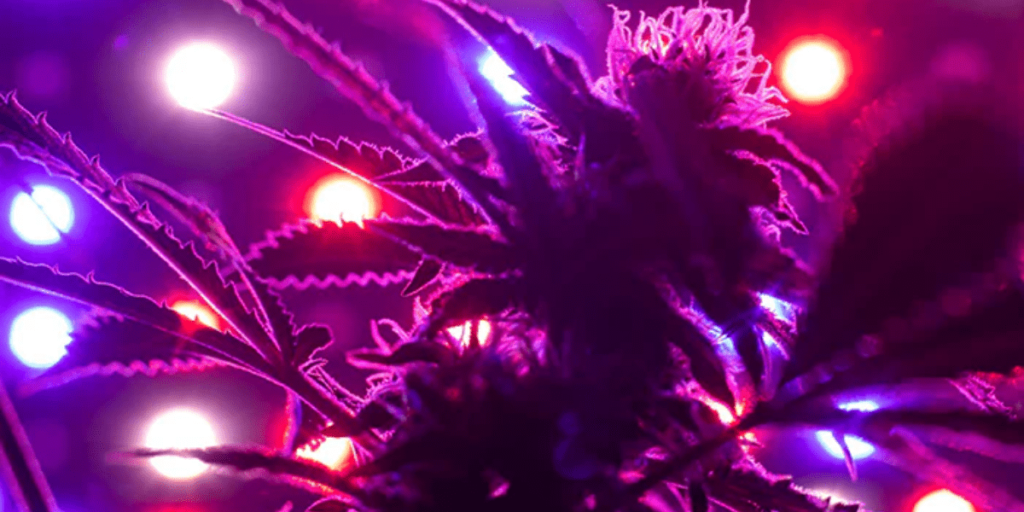
At this stage, avoid exposing seedlings to direct, intense light; instead, provide gentle, indirect lighting to minimize stress. Light spectrum also plays a crucial role in shaping your plants’ development and overall vitality. Using specific spectrums like purple light can promote stronger stems and encourage more branching, resulting in bushier, healthier cannabis plants. For more detailed guidance on how to effectively use purple light in your grow, check out our article on how to use purple light to shape your cannabis plants.
Additionally, use a mild nutrient feed or root stimulant to support root growth, but be careful not to overfeed fragile seedlings. Finally, gently remove any yellow or damaged leaves to help the plant focus its energy on developing strong roots and new healthy foliage.
Troubleshooting Transplant Issues: Signs and Solutions
| Symptom | Possible Cause | Suggested Solution |
|---|---|---|
| Wilting or drooping | Transplant shock or dehydration | Increase humidity and water carefully |
| Yellowing leaves | Overwatering or nutrient deficiency | Adjust watering and nutrient schedule |
| Root rot smell | Poor drainage, overwatering | Improve drainage, reduce watering |
| Slow or stunted growth | Stress or poor soil conditions | Optimize environment and nutrient supply |
FAQs on Transplanting Cannabis Seedlings Correctly
Q1: How do I know when my cannabis seedlings are ready to transplant?
A1: You’ll want to transplant them when the roots are filling the pot but not yet circling the bottom. If the seedlings have their first true leaves and are starting to show slow growth despite good care, it’s probably time to move them to a bigger pot. It’s better to transplant a bit earlier than wait too long.
Q2: Can I transplant cannabis seedlings if they’ve been growing for a while in small containers?
A2: Absolutely! If your seedlings have outgrown their small pots and the roots are starting to get cramped, it’s definitely time to transplant. Don’t worry, just handle them gently, and they’ll bounce back quickly.
Q3: How do I minimize transplant shock for my cannabis seedlings?
A3: The key is to prepare ahead. Water your seedlings before you move them, and make sure the new pots are filled with a good-quality, well-draining medium. After transplanting, ease them into the new environment, and keep an eye on the lighting too much light can stress them out.
Q4: I’m transplanting into hydroponics,any tips?
A4: For hydroponics, make sure your nutrient solution is dialed in before transplanting, and double-check the pH level. Since hydroponic systems can be a bit more sensitive, make sure to monitor the roots closely to ensure they’re acclimating well.
Q5: What should I do right after transplanting my cannabis seedlings?
A5: First thing,water them well. This helps settle the soil around the roots. After that, be sure to keep the light intensity low for a day or two to help the seedlings recover from the move. Then, gradually increase the light exposure as they get used to their new home.
Final Tips for Transplanting Cannabis Seedlings Successfully
It’s simple getting transplanting right sets you up for a successful grow. When you nail it, your seedlings get all the space and care they need to thrive, turning into bigger, healthier plants.
Pick the perfect time, the right growing medium, and the best lighting, and you’re giving your plants the ultimate head start. That means less stress for you and more rewarding results down the road.
Ready to crush your grow with pro tips and top gear? Check us out at www.greenfuturelight!
Got some awesome results? Show off your plants and tag us on Instagram @Greenfuturelight
Want healthier, stronger plants? Dive into our premium LED Grow Light Collection now!
Got questions or need advice? Contact Our Team for a FREE consultation today!
Let’s grow amazing plants together,start your journey now!